How to Detect and Solve a Dust Collector Leak
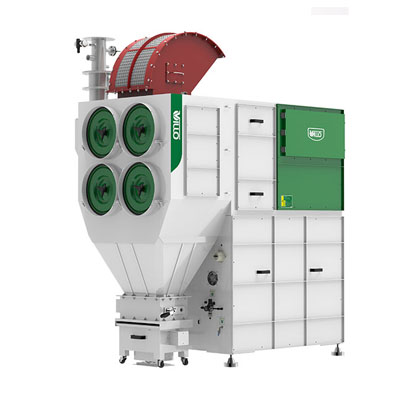
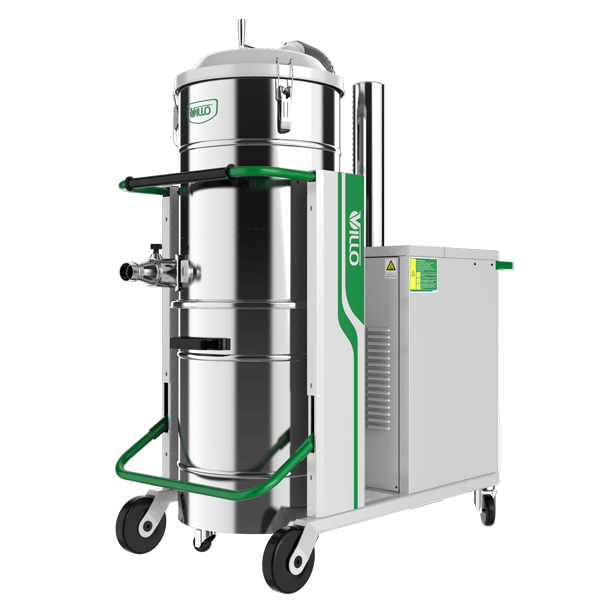
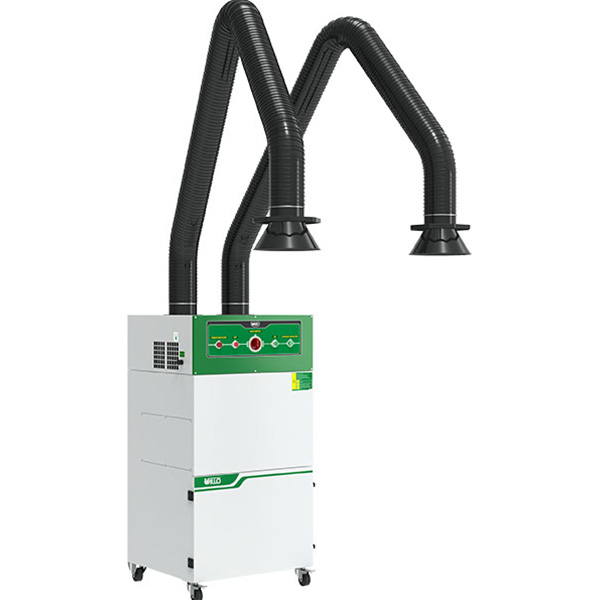
Have you noticed that your dust collector is constantly emitting dust? This usually indicates that the problem is internal to the system, a common culprit is a filter leak. Here are some of the more common reasons to be aware.
Dust collector leaks are often caused by missing or detached filters, broken or damaged seals, broken seams in the bag, holes in the filter, etc.
If you can't diagnose your problem with a quick visual inspection, the next step is a simple mould test. Mould testing uses fluorescent leak powder and concentrates it at its entry points into the clean air chamber, which are the holes in your dust collector.
Preventative Plan Of Dust Collector Maintenance
How do you ensure your dust collector is operating at peak efficiency? We can do this by proactively developing a maintenance plan.
Following these maintenance schedules will help you fix any problems before they become bigger problems. Some benefits include: longer filter life, reduced year-round unplanned downtime, and protection from dust collector explosions.
Maintenance steps are:
1. Check whether the compartment pressure difference model in the panel is within the normal working range;
2. Observe that the timer operates all pulse valves correctly;
3. Check hopper dust level. Dust collectors are not designed to contain materials.
4. Check the air pressure to the solenoid valve. Air pressure to the headers should be between 70 and 90 psi and never exceed 100 psi. If more pressure is required to clean the filter, there is a problem with the filter media, or there is a problem with particle flow and density. High air pressure can cause the diaphragm valve to fail;
5. If possible, lubricate the fan bearings monthly;
6. Check whether the damper valve is properly seated;
7. Apply paint to prevent corrosion;
8. Maintain door seals and gaskets and replace them when they lose elasticity or become damaged. Do not paint seals or gaskets at any time.

 EN
EN
 ja
ja  ko
ko  fr
fr  de
de  ru
ru 